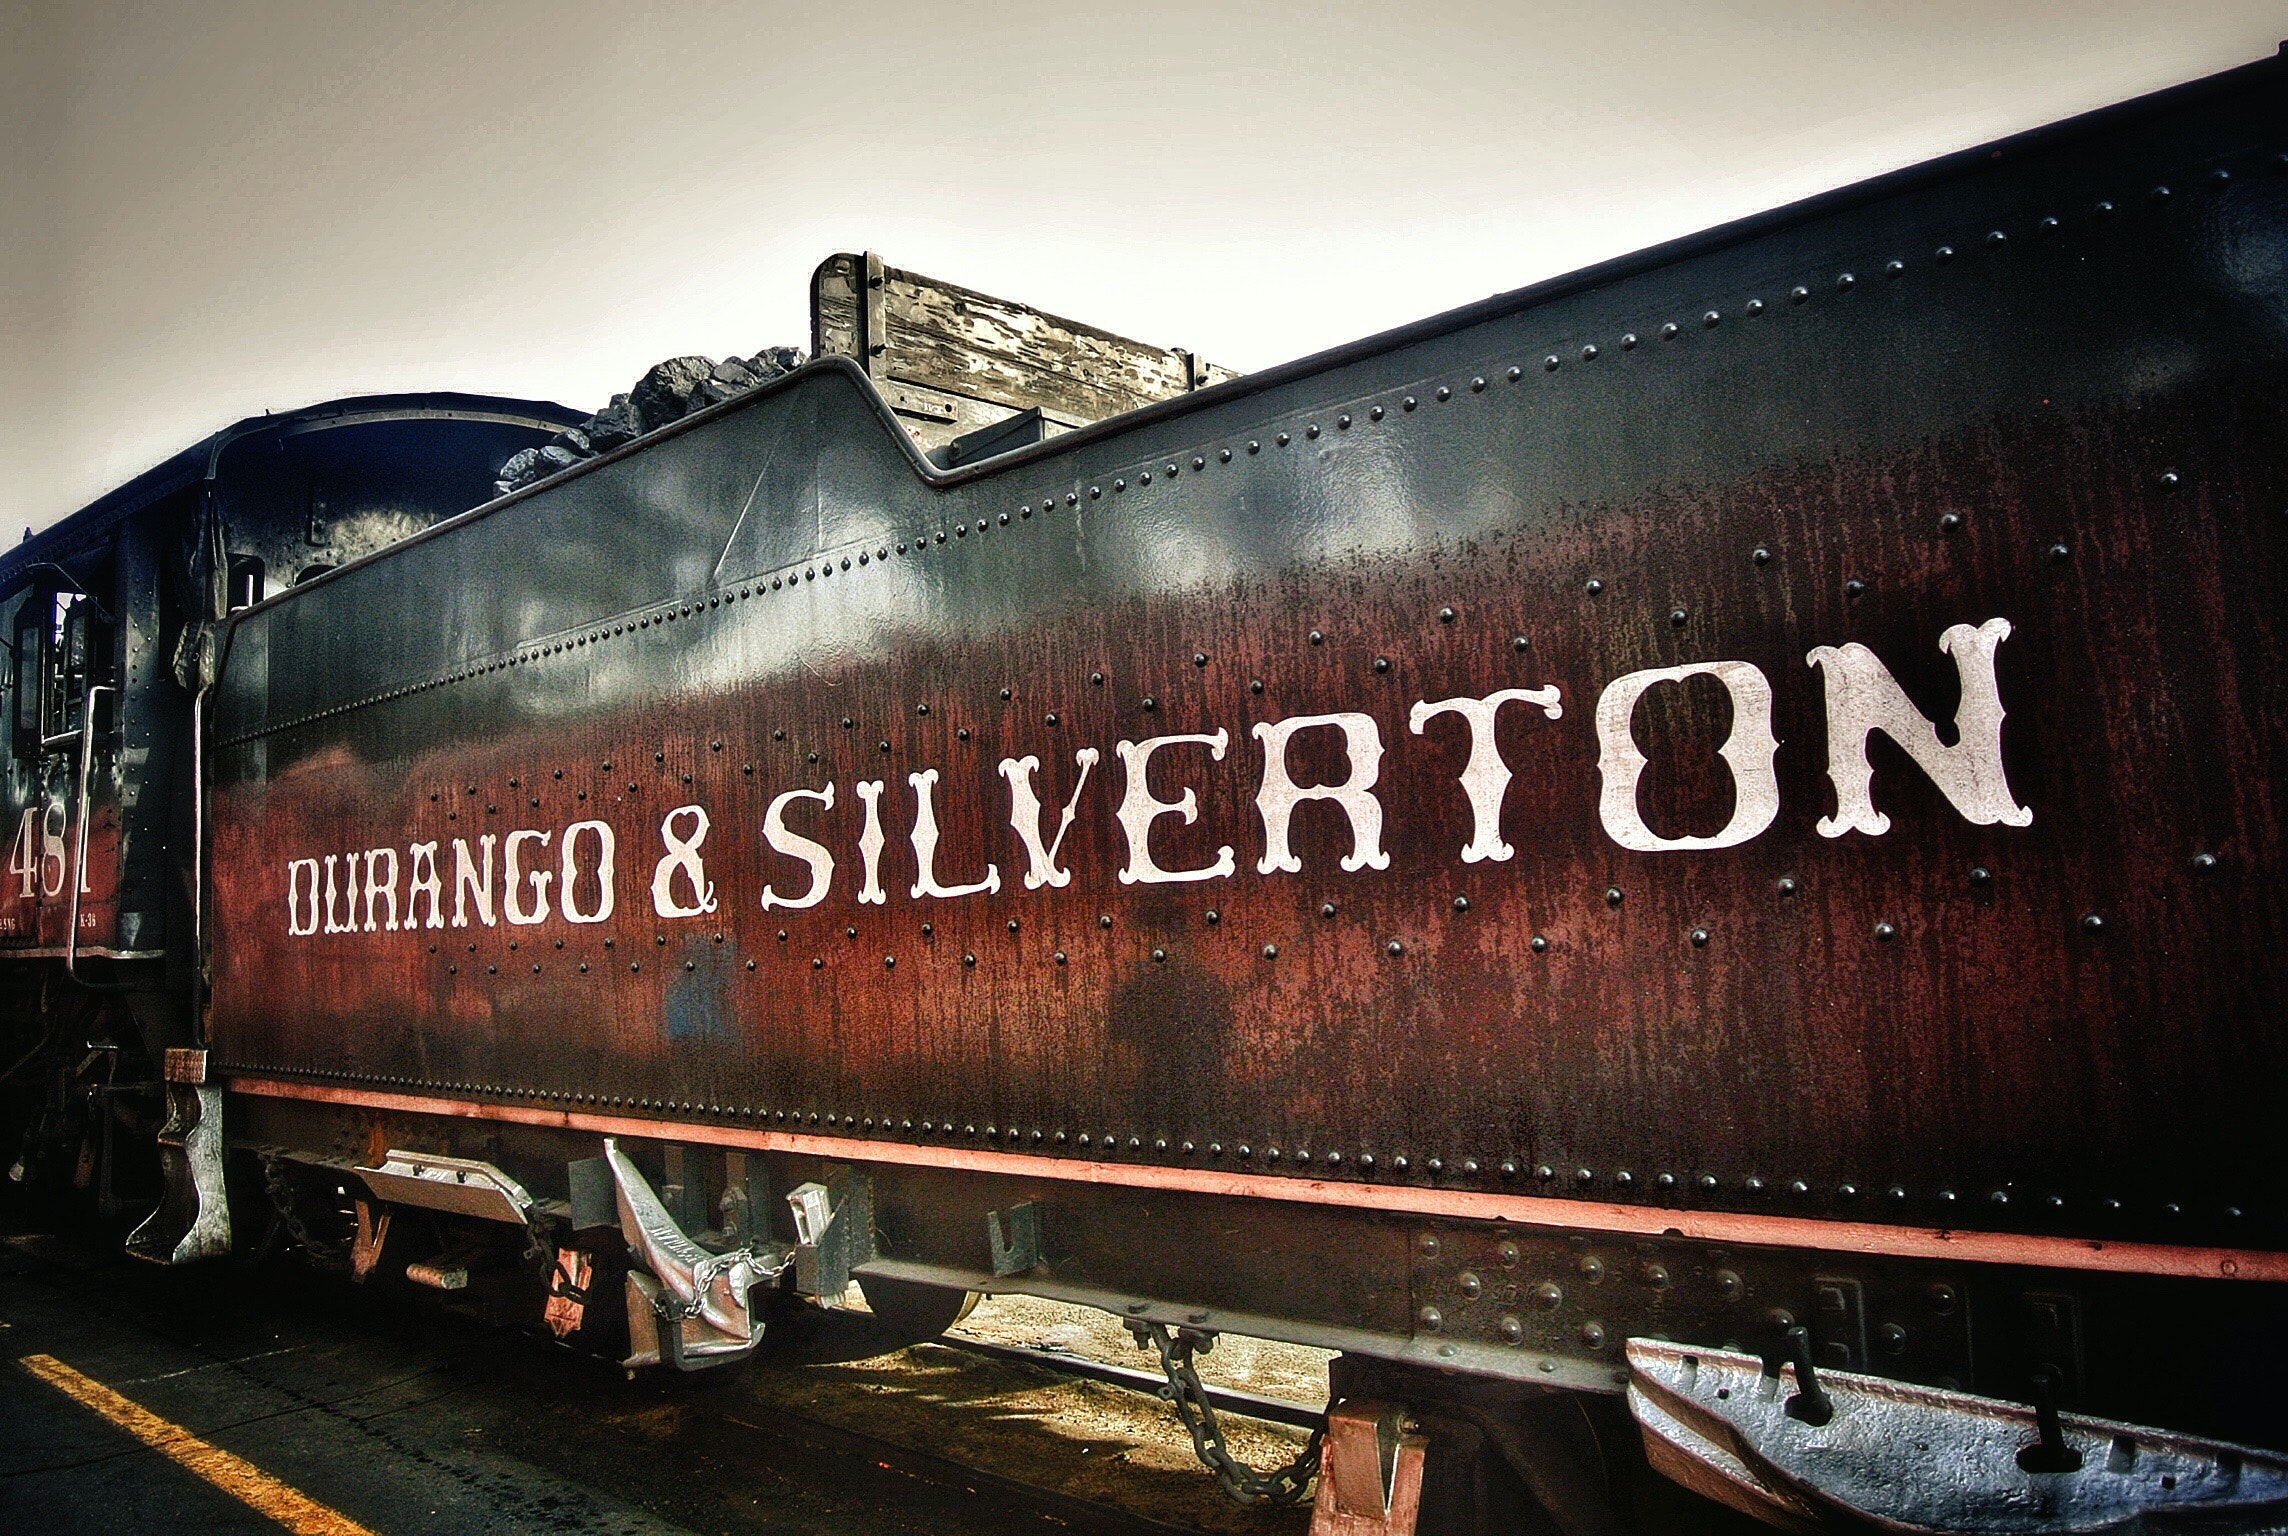
Rust can be cool in say interesting architectural structures using Corten steel but in your van, not so much.
If rust gets out of control you will risk water ingress, which leads to mold, pesky bugs, or your bed falling through the floor when racing down the freeway at 70 miles per hour. Not to mention, compromised collision performance.
Rust is actually very complex. They are lots of scientists, across different industries, whose entire job is to understand rust and combat it through whatever process or product they invent and create. Chemically, rust is nothing more than iron oxide, FeO, a compound that forms when the iron in a metal alloy is oxidized. Most steel alloys, that is any metal containing iron as one of its elements, will rust in the presence of oxygen and water. Rust is the orangey powder we see.
The speed at which your metal box on wheels, aka your van, will rust will, of course, depend on the climate where your van resides. So to protect your investment, what should you do? Sand and paint, or replace!
We opted to remove a lot of the rust inside the nooks and crannies of Groky, our van, with an electric sander or by hand sanding. Then we painted the bare metal with rust neutralizing primer and to finish it off we coated it with a layer or two of paint. On the walls, we opted for an appliance epoxy to seal the bare metal. The process is long and annoying but we highly recommend it.
How To Rust Proof
Like a lot of people, we wanted the best rust treatment for our van at the best price. The internet was of very little help. Most people online recommend avoiding water-based paints and appliance epoxies because they have a tendency to bubble up (especially if you coat over new-ish polyurethane-based paints) or claim they will not protect the bare metal at all. At the end of the day, we opted to read the labels on the paint buckets at Home Depot.
What We Used
We used the Behr primer and paint for the floor of the van, and for the walls, we went with an appliance epoxy and laid down 3 coats.
Behr 436 Primer –
Behr Urethane Alkyd semi-gloss enamel –
Rustoleum appliance epoxy –
The Process
The rust removal and treatment process is very tedious and painfully slow. You need to sand, and sand some more as small splotches turn into large rust patches, before you even lay down a single dab of paint, and waiting for the paint to dry, adds many additional days to the process.
To start, we removed the van’s original flooring, a sheet of heavy-duty plywood lined with a wool padding underneath. We then inspected the metal for rust spots and sanded all the trouble spots. Fortunately, Groky hasn’t experienced harsh midwestern winters since he has lived the majority of his life in Dallas, Texas. And, currently, it resides in the desert in California. But we did find plenty of rust all over the floor.
The valleys of the floor ridges contained the most amount of rust and most of the rust concentrated on the driver’s side of the van around the base as if the owner routinely spilled water on the floor. We also found a lot of rust spots on the weld spots probably because the paint did not adhere well to the uneven ridges of the weld.
